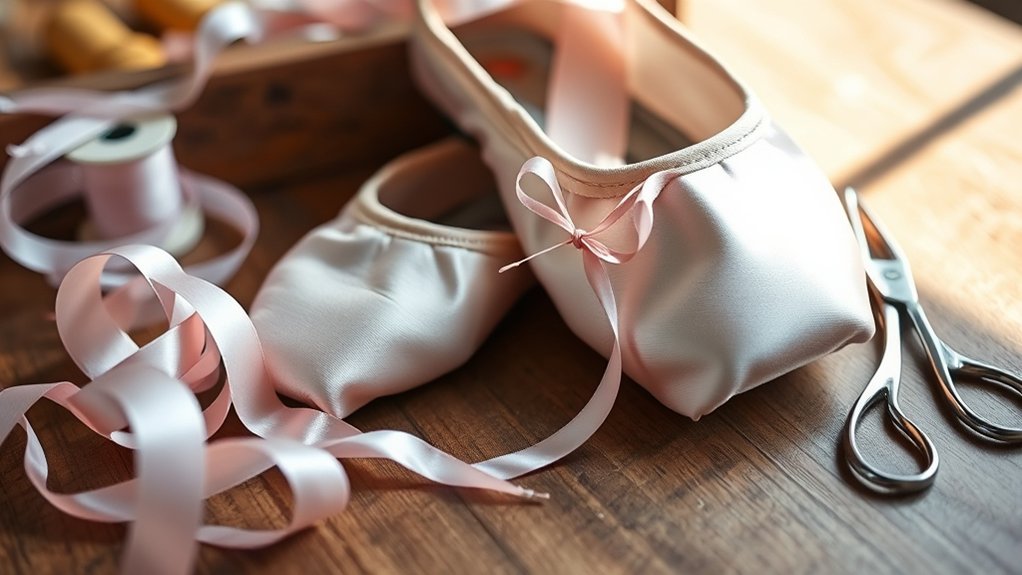
How to Sew Pointe Shoes
To sew pointe shoes effectively, start by choosing satin uppers that resist fraying and a firm shank for shape retention. These materials are essential for both durability and support during dance.
Using strong, fine nylon or polyester thread along with a curved needle will help you stitch ribbons and elastics securely.
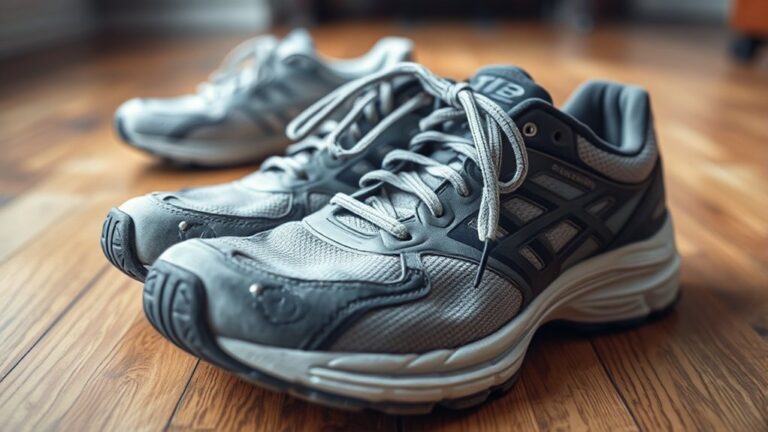
Prepare your shoes by inspecting them carefully, cleaning any dust or debris, and positioning them in a well-lit workspace. This ensures precision and ease throughout the sewing process.
Reinforce stress points like the toe box and edges to improve both durability and comfort.
By applying proper techniques and selecting the right materials, you will enhance the fit and longevity of your pointe shoes. Following these steps lays a solid foundation, and further insights will guide you through a detailed sewing process.
Key Takeaways
- Choose satin pointe shoes with sturdy platforms and firm shanks for durable sewing and customization.
- Use curved needles and strong, waxed polyester or nylon thread for secure, flexible stitching.
- Inspect and clean shoes carefully, focusing on the box, shank, platform, and satin before sewing.
- Reinforce arches and stitch padding edges securely to maintain comfort and shoe shape.
- Work in a well-lit, ventilated area with sharp, safety-verified tools to ensure precise, safe sewing.
Choose Pointe Shoes Suited for Sewing and Customization
How do you identify pointe shoes that are best suited for sewing and customization? Start by examining the shoe’s material durability; you want a satin upper that withstands needle penetration without fraying or tearing.
Look for shoes with a sturdy platform and a firm shank to maintain shape after modifications. When choosing shoes, consider how the thickness and weave of the satin will interact with your thread selection. Opt for a strong, fine thread like nylon or polyester that balances durability with flexibility.
Avoid overly stiff or brittle materials, as they complicate stitching and reduce longevity. Also, check if the shoe’s construction allows access to key areas for sewing, such as the vamp and heel, ensuring your customization won’t compromise the shoe’s structural integrity.
Gather Sewing Tools and Materials for Pointe Shoes
You’ll need specific sewing tools like curved needles and strong thread designed for pointe shoes to ensure durability and a secure fit. Selecting the right thread, typically waxed linen or polyester, affects both strength and stitch quality.
Before starting, prepare your pointe shoes by cleaning and positioning them properly for accurate stitching.
Essential Sewing Tools
Gathering the right sewing tools is essential for preparing your pointe shoes to withstand the demands of performance. To guarantee sewing safety and efficiency, focus on quality and durability when sourcing materials. You’ll need specialized tools tailored for the delicate yet tough fabric and structure of pointe shoes.
Here are the three essential tools you must have:
- Curved Needle: Allows precise stitching in tight, curved areas without damaging the shoe.
- Strong Thread: Though detailed later, guarantee your thread matches the shoe’s tensile requirements.
- Thimble: Protects your finger during intense stitching, improving control and preventing injury.
Choosing Suitable Thread
Why does thread choice matter so much in preparing pointe shoes? Because the right thread ensures structural integrity and longevity under intense pressure. When choosing thread, prioritize high-quality polyester or nylon options; their strength and elasticity accommodate the shoe’s demands.
Cotton thread lacks the necessary resilience, leading to premature breakage. Thread durability directly influences how well your stitches hold up during rehearsals and performances. You’ll want a thread thickness that balances strength without adding bulk, typically a 40-weight thread works best.
Also, consider color matching to maintain a clean finish. By carefully choosing thread with optimal durability and compatibility, you guarantee your pointe shoes withstand rigorous use while maintaining precise stitch work critical for professional-level craftsmanship. This choice sets the foundation before you move on to preparing the shoes.
Preparing Pointe Shoes
Selecting the right thread sets the stage, but before stitching, assemble the precise tools and materials required for pointe shoe preparation. You’ll need to prioritize safety considerations and comply with regional regulations regarding materials and workspace setup.
Ensure your environment is well-lit and ventilated to avoid strain and inhalation risks.
Gather these essentials:
- Sharp, strong needles designed for heavy fabrics.
- Durable, color-matched thread with high tensile strength.
- A sturdy thimble and small scissors for precise cuts.
Verify all tools comply with safety standards and function optimally. Proper preparation reduces errors and extends pointe shoe longevity.
Get Your Pointe Shoes Ready to Sew
Before you start sewing, make sure your pointe shoes and tools are fully prepared and within reach. Carefully inspect each shoe for any dirt or damage, and clean them thoroughly to ensure smooth stitching.
Taking these steps now will save you time and prevent issues during the sewing process.
Preparing Materials and Tools
Gathering the right materials and tools sets the foundation for sewing your pointe shoes effectively. Before you begin, understand common misconceptions about pointe work. Proper preparation mitigates risks and upholds safety considerations essential for injury prevention.
Equip yourself with:
- Heavy-duty, curved sewing needles designed for canvas and satin.
- Strong, waxed thread, preferably nylon or polyester, to endure tension.
- Scissors with sharp, fine tips for precision cutting.
These tools ensure clean, durable stitches and reduce the chance of damaging the shoe fabric or injuring your fingers. Avoid makeshift materials as they compromise both the shoe’s integrity and your safety.
Inspecting and Cleaning Shoes
Although your pointe shoes may look ready at first glance, a thorough inspection and cleaning are essential before sewing. Inspecting preparation involves checking the box, shank, and platform for wear or damage, ensuring structural integrity.
Use gentle cleaning techniques, like a soft brush or damp cloth, to remove dust and dirt without compromising fabric or glue.
| Inspection Area | Cleaning Technique |
|---|---|
| Box | Wipe with damp cloth |
| Shank | Check for cracks or bends |
| Platform | Brush off debris gently |
| Satin | Spot clean with mild soap |
Sew Ribbons and Elastics Securely Onto Your Pointe Shoes
How do you guarantee your ribbons and elastics stay firmly attached to your pointe shoes without compromising comfort or durability? Understanding pointe shoe history reveals that early dancers struggled with loose ribbons, prompting today’s secure sewing methods.
First, identify ribbon terminology: the “cut end” is sewn closest to the vamp, while the “tail” extends toward the heel.
To sew ribbons and elastics securely:
- Use a strong, doubled nylon thread for durability.
- Anchor ribbons with tight, small stitches at the vamp’s edge, avoiding bulk.
- Attach elastics in a diagonal line across the heel, ensuring balanced tension without stretching.
These steps honor tradition while providing reliable support, ensuring your ribbons and elastics won’t loosen mid-performance.
Hand-Sew and Reinforce the Toe Box for Durability
Before you begin dancing en pointe, you’ll want to hand-sew and reinforce the toe box to withstand rigorous use. Start by selecting a strong, durable thread, typically nylon or polyester, to ensure longevity.
When stitching, avoid common hand stitching pitfalls such as uneven tension or skipped stitches, which can weaken the structure. Use small, consistent stitches around the perimeter of the toe box, focusing on stress points where wear is greatest.
Toe box reinforcement often involves layering additional stitches or applying reinforcing fabric inside the box to maintain shape and durability. Pay close attention to symmetry, as uneven reinforcement can affect balance.
Proper hand-sewing not only extends the life of your pointe shoes but also provides critical support during demanding dance routines.
Make Your Pointe Shoes Fit Perfectly With Stitches and Padding
Once you’ve reinforced the toe box, focus on tailoring the fit to your foot’s exact shape using stitches and padding. Proper fit is critical to performance and injury prevention. Start by adding toe box padding to cushion and mold the shoe around your toes, reducing pressure points.
Next, install padded arch supports inside the shoe to maintain foot alignment and provide necessary arch stability. Finally, use precise stitching to secure all padding in place without creating bulk or restricting movement. Follow these steps:
- Insert thin layers of toe box padding, shaping them to your toes’ contours.
- Position padded arch supports exactly where your arch needs reinforcement.
- Stitch carefully along the edges to keep padding stable and avoid discomfort.
This method ensures a custom fit that enhances both comfort and durability.
Care for Your Sewn Pointe Shoes to Extend Their Life
Why does proper care matter for your sewn pointe shoes? Because meticulous maintenance preserves their structural integrity and prolongs performance life.
Start by air-drying your shoes after each use to prevent moisture buildup, which weakens the shank and fabric. Use a soft cloth to wipe away dirt and avoid harsh chemicals that can degrade materials.
Air-dry shoes after use, wipe dirt gently, and avoid harsh chemicals to protect materials and structure.
Implement repair basics promptly. Restitch loose seams and reinforce worn areas with matching thread to maintain support. Rotate multiple pairs during practice to reduce wear.
Store your shoes in a breathable bag away from direct sunlight to prevent material breakdown. Following these care tips ensures your sewn pointe shoes remain reliable, providing consistent support and stability, and ultimately saving you time and expense on replacements.
Frequently Asked Questions
How Often Should Pointe Shoes Be Replaced During Training?
You shouldn’t wait too long. Old fashioned stitching and fabric maintenance degrade quickly. Replace your pointe shoes every few weeks of intense training to ensure optimal support and safety. Neglecting this risks injury and performance decline.
Can Pointe Shoes Be Dyed to Match Costume Colors?
Yes, you can dye pointe shoes to achieve dyed matching with costume colorways. Use fabric-safe dyes suitable for satin material, apply evenly, and test on a small area to ensure color fastness without compromising shoe structure or durability.
What Are Common Mistakes to Avoid When Sewing Pointe Shoes?
You’ve seen dancers struggle when their ribbons unravel mid-performance. Common mistakes include uneven tension and improper knotting.
Master precise sewing techniques by maintaining consistent stitch length and securing ends firmly to ensure durability and safety.
How Do You Break in New Pointe Shoes Safely?
To break in new pointe shoes safely, you should gradually increase wear time and monitor for discomfort. Address break-in concerns by maintaining proper foot health through stretching and strengthening.
Consult professionals to prevent injury and ensure optimal performance.
Are There Alternative Materials for Ribbons and Elastics?
You might think alternative ribbons and elastic alternatives lack durability, but options like woven polyester ribbons and silicone-based elastics offer strong, flexible support.
These materials maintain tension and comfort, ensuring your pointe shoes perform reliably during intense use.