How Do You Draw Ballet Shoes
To draw ballet shoes, start with simple shapes like ovals for the toe and heel, plus rectangles for the sole, to map structure accurately. Focus on proportion and use light lines to adjust form. Add ribbon details that wrap snugly around the ankle, mimicking natural curves.
Enhance realism with gradient shading and subtle textures for satin. Consider different angles and poses to capture movement. Keep practicing these steps, and you’ll soon master the art with greater precision and depth.
Key Takeaways
- Start with basic shapes like ovals for the toe box and rectangles for the sole to map the ballet shoe’s structure.
- Focus on proportion and pose variety by sketching different angles with light lines for realistic foot alignment.
- Add ribbons wrapping snugly around the ankle, following the leg’s natural curves with smooth tapering from shoe sides.
- Use shading techniques such as gradients and cross-hatching to create satin texture and enhance three-dimensional form.
- Study references and practice perspective to accurately depict shoe anatomy, ribbon tension, and consistent proportions.
Start Drawing Ballet Shoes With Basic Shapes

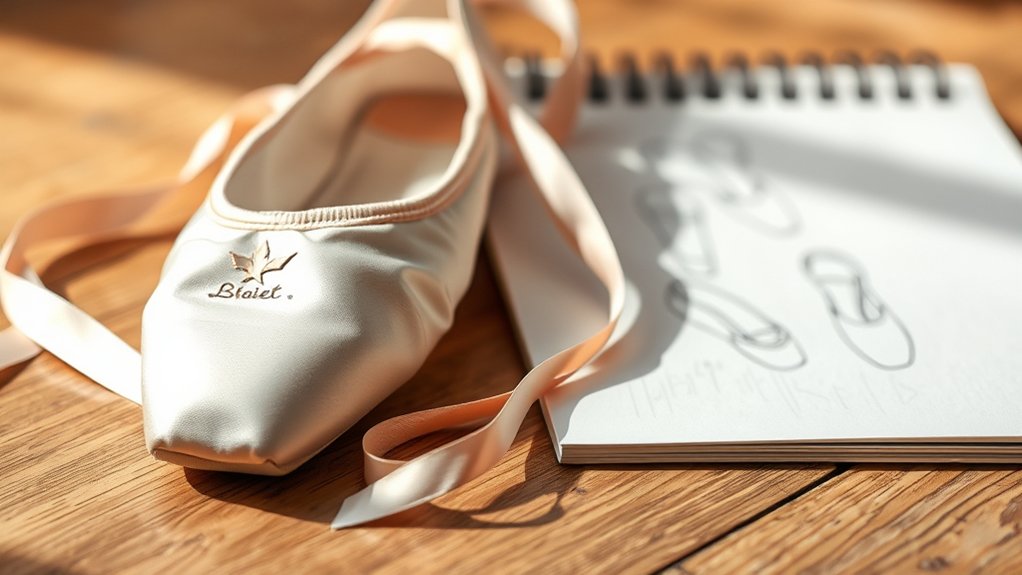
How do you begin drawing ballet shoes accurately? Start by gathering your sketching materials: pencils, erasers, and quality paper. Begin with simple geometric shapes to map out the shoe’s structure: ovals for the toe box and heel, rectangles or trapezoids for the sole, and gentle curves for the arch.
Focus on proportion and alignment to capture the shoe’s form realistically. Use light lines to adjust as needed. Incorporate a pose variety early on by sketching shoes in different angles—side views, three-quarter perspectives, or top-down.
This helps you understand the shoe’s volume and how it interacts with the foot’s movements. Mastering these basic shapes lays a solid foundation before adding finer details, ensuring your ballet shoes look balanced and lifelike.
Add Details: How to Draw Ribbons and Shoe Texture
Where exactly do you place the ribbons to make your ballet shoes look authentic? Start by drawing the ribbons crossing over the ankle, wrapping around the leg just above the ankle bone. These ribbons should appear snug but flexible, reflecting ballet fashion’s emphasis on both function and elegance.
Next, sketch the ribbons extending from the shoe’s sides, ensuring they taper smoothly and follow the leg’s natural curve. For shoe texture, add subtle creases and stitch lines where the fabric folds or stretches, especially near the toe box and heel.
Use short, curved lines to indicate the satin material’s delicate sheen without overwhelming the drawing. These details enhance realism and highlight the shoe’s role in a stage performance, blending artistry with practical ballet fashion elements.
Use Shading to Make Your Ballet Shoe Drawing Realistic
Why does shading matter when drawing ballet shoes? Shading techniques bring depth and texture realism, transforming flat outlines into lifelike shoes. To master shading, follow these steps:
- Identify your light source to create consistent shadows and highlights.
- Use gradient shading to represent the satin’s smooth surface, blending softly from dark to light.
- Apply cross-hatching or stippling for areas requiring subtle texture, like creases or worn fabric.
- Add sharper shadows beneath ribbons and folds to emphasize dimension.
Tips for Drawing Ballet Shoes From Different Angles and Poses
Mastering shading sets a strong foundation for capturing the three-dimensional form of ballet shoes, but to truly bring your drawings to life, you’ll need to tackle different angles and poses. Begin by studying reference images from multiple perspectives: side, top, and dynamic poses like pointe or flexed feet.
Use precise drawing techniques such as contour lines to define the shoe’s structure in each pose. Pay attention to how the straps and ribbons wrap around the foot, altering their shape with movement. When selecting your color palettes, choose subtle variations to emphasize depth and material texture, adjusting tones based on light direction.
Practice sketching quick gesture drawings to capture fluidity before refining details. This approach ensures your ballet shoe illustrations remain anatomically accurate and visually engaging from every angle.
Avoid Common Ballet Shoe Drawing Mistakes
Although drawing ballet shoes can be challenging, avoiding common mistakes will considerably improve your results. To master this, you need to rehearse perspective and study anatomy thoroughly. Here are four key tips to keep in mind:
- Don’t ignore the foot’s structure. Study anatomy to understand how the shoe conforms to the foot’s curves and bones.
- Avoid flattening the shoe. Always rehearse perspective to capture depth and the three-dimensional form accurately.
- Don’t over-simplify the ribbons. Depict their twists and tension realistically to enhance believability.
- Avoid inconsistent proportions. Measure and compare elements carefully to maintain symmetry and balance.
Frequently Asked Questions
What Materials Are Best for Coloring Ballet Shoe Drawings?
You’ll want to use coloring pencils for precise shading and fine details, then add watercolor inks to create soft, delicate washes enhancing texture.
Combining both gives your ballet shoe drawings vibrant depth and realistic highlights.
How Do You Clean Real Ballet Shoes Properly?
You’ll want to deodorize ballet shoes by sprinkling baking soda inside overnight. Use mild soap with a soft cloth, such as cotton or microfiber, to gently clean the satin fabric. Avoid soaking; air-dry thoroughly to keep shoes fresh.
What History Do Ballet Shoes Have in Dance Culture?
You’ll find ballet shoes deeply tied to the history of pointe work, evolving through iconic designers like Rose Repetto. Understanding this helps you appreciate their role in dance culture’s technical and aesthetic development.
Can Ballet Shoe Drawings Be Turned Into Digital Art?
You can easily turn ballet shoe drawings into digital art by using digital sketching tools. Apply color theory to choose harmonious palettes, enhancing depth and realism.
Layering and shading digitally will refine your ballet shoe illustration effectively.
How Do You Store Ballet Shoes to Maintain Their Shape?
You should store ballet shoes in breathable bags, as 85% of dancers report moisture damage from improper storage. Use preservation tips like stuffing toes with tissue to maintain shape and avoid crushing, ensuring longevity and performance.
Conclusion
Now that you’ve mastered the art of drawing ballet shoes, you’re practically a virtuoso of delicate footwear illustration! By starting with simple shapes, adding intricate ribbons, and perfecting shading, you’ve transformed a basic sketch into a lifelike masterpiece.
Remember, every angle and pose holds secrets—embrace them with precision. Avoid those rookie mistakes like the plague, and soon, your ballet shoes will pirouette off the page with unmatched elegance and realism!
With continued practice, your skills will only grow stronger. Keep refining your technique, and your drawings will capture the true beauty of ballet shoes.